
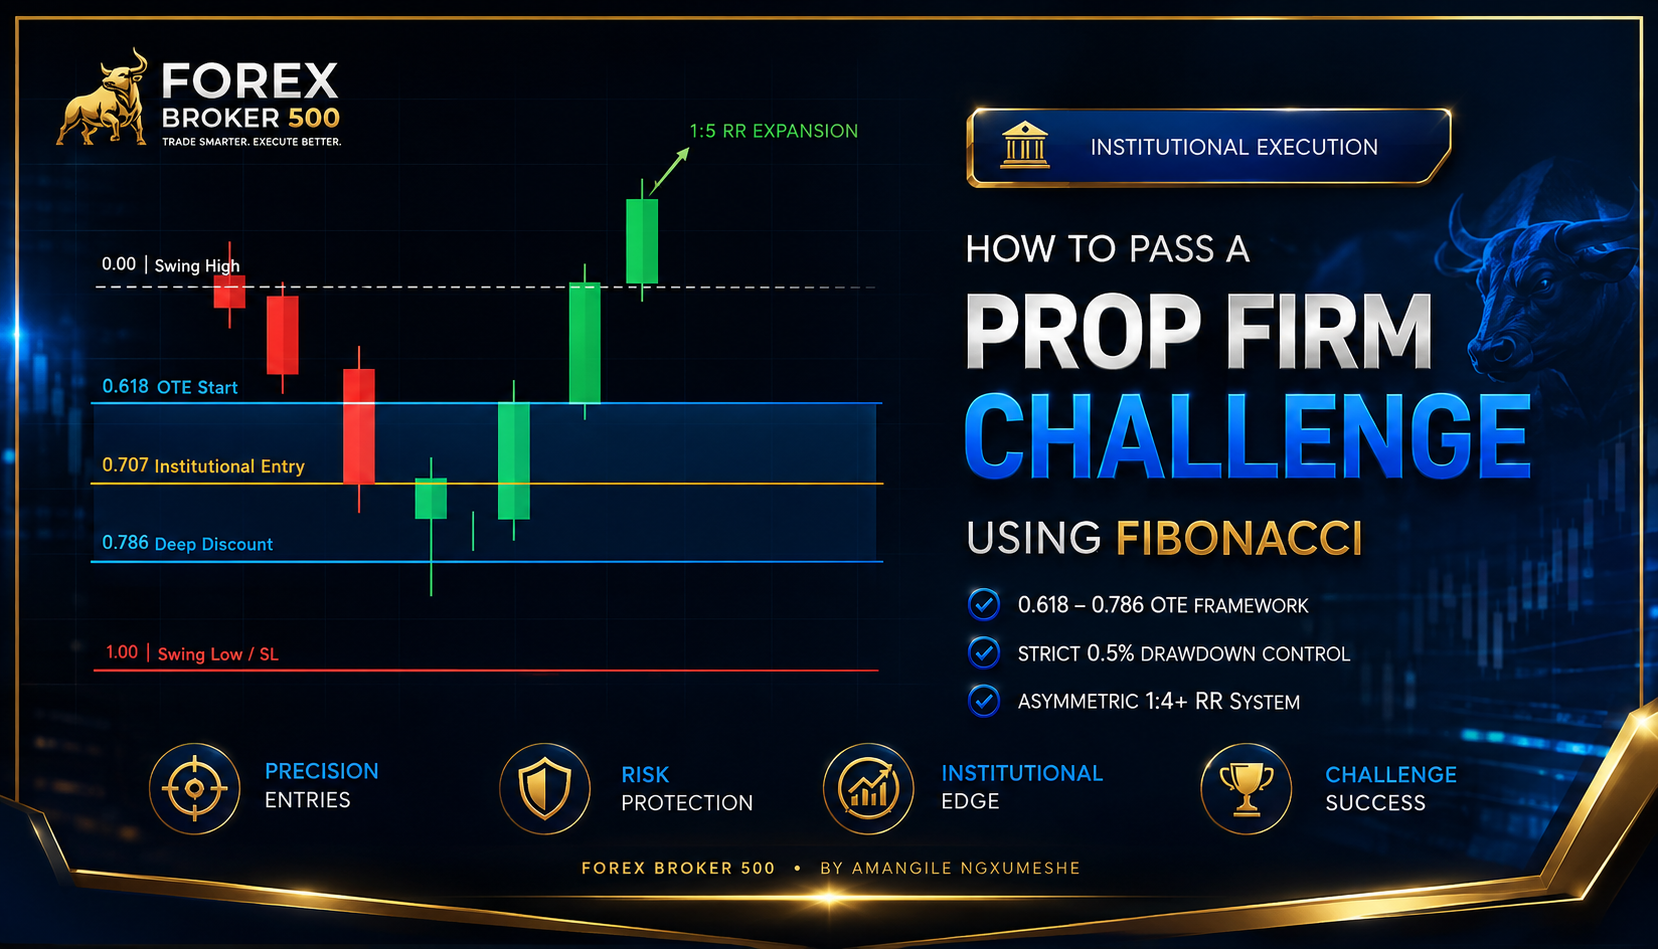
The Core Problem: Why Traditional Fibonacci Setups Fail Prop Rules
Most retail traders fail prop firm evaluations using Fibonacci retracements because they treat levels as static magic lines. Slapping a grid across a random price move and buying the 61.8% level without institutional context leads straight to maximum daily drawdown breaches.
Prop firm algorithms penalize poor risk control and unpredictable drawdowns. Retail Fibonacci trading fails in evaluation environments for three primary reasons:
- Ignoring Market Structure: Drawing grids on internal retracements rather than major institutional swing points.
- Lack of Liquidity Context: Entering at the 61.8% level before Smart Money has swept resting stop-loss liquidity.
- Wide Stop Losses: Setting stops below generic swing points instead of precise institutional invalidation levels, destroying Risk-to-Reward (R:R) ratios.

Precision Premium vs. Discount Framework
Institutional algorithms price assets based on Premium (above 50%) and Discount (below 50%) zones. To pass evaluations, you only trade when price draws deep into the Optimal Trade Entry (OTE) zone following a confirmed liquidity sweep.
- 0.50 (Equilibrium): The baseline dividing Premium and Discount. Never take entries here; it acts purely as your directional filter.
- 0.618 (Golden Ratio): The start of the OTE zone.
- 0.707 (Institutional Benchmark): The primary target level for high-probability mitigation.
- 0.786 (Deep Discount/Premium): The extreme OTE level providing maximum asymmetric R:R.
The 1:4 Risk-to-Reward Rule & Drawdown Management
To meet 8%–10% evaluation profit targets without risking your account, adhere to a strict 0.5% risk limit per trade.
$$\text{Position Size (Lots)} = \frac{\text{Account Equity} \times 0.005}{\text{Stop Loss (Pips)} \times \text{Pip Value}}$$
By taking entries strictly within the 0.618–0.786 OTE zone, your stop loss remains tight (typically 4 to 8 pips). A standard setup reaching opposing liquidity yields a 1:4 to 1:6 R:R, allowing you to hit your funding challenge target in as few as 3 or 4 winning trades.
The 4-Step Execution System
- Identify the Liquidity Sweep & HTF Swing: Wait for price to purge a major session high or low. Mark the Higher Timeframe (HTF) swing high and swing low created by that sweep.
- Overlay OTE on Fair Value Gaps: Anchor your Fibonacci tool from swing low to swing high (for buys) or swing high to swing low (for sells). Ensure the 0.618–0.786 zone aligns directly with an M15 or M5 Fair Value Gap (FVG).
- Confirm Lower Timeframe Shift (M1/M5): As price taps into the OTE + FVG confluence zone, drop to the M1/M5 timeframe and wait for a Market Structure Shift (MSS) with displacement.
- Set Fixed Risk & Targets: Place a limit order at the 0.707 OTE level. Set your Stop Loss 1 pip past the extreme sweep wick and target opposing liquidity pools (TP1: 0.5 Equilibrium, TP2: HTF Swing High/Low).
Prop Firm Challenge Rules Matrix
| Execution Parameter | Retail Fibonacci Strategy | Precision OTE Fibonacci System |
| Trigger Zone | Static 61.8% level (No sweep) | Confluence of 0.618–0.786 OTE + FVG + Liquidity Sweep |
| Average Stop Loss | 15–30 Pips | 4–8 Pips |
| Risk Per Trade | 2% – 5% (High Drawdown Risk) | Fixed 0.5% (Protects Daily Drawdown) |
| Average R:R | 1:1.5 | 1:4 to 1:6 |
| FTMO / Evaluation Suitability | High Failure Rate | Built Specifically for Funded Constraints |
Master Institutional Execution
Stop risking your evaluation fees on static retail indicators. Upgrade your trading with a fully mechanical framework engineered to pass prop firm challenges and scale funded capital.

No responses yet