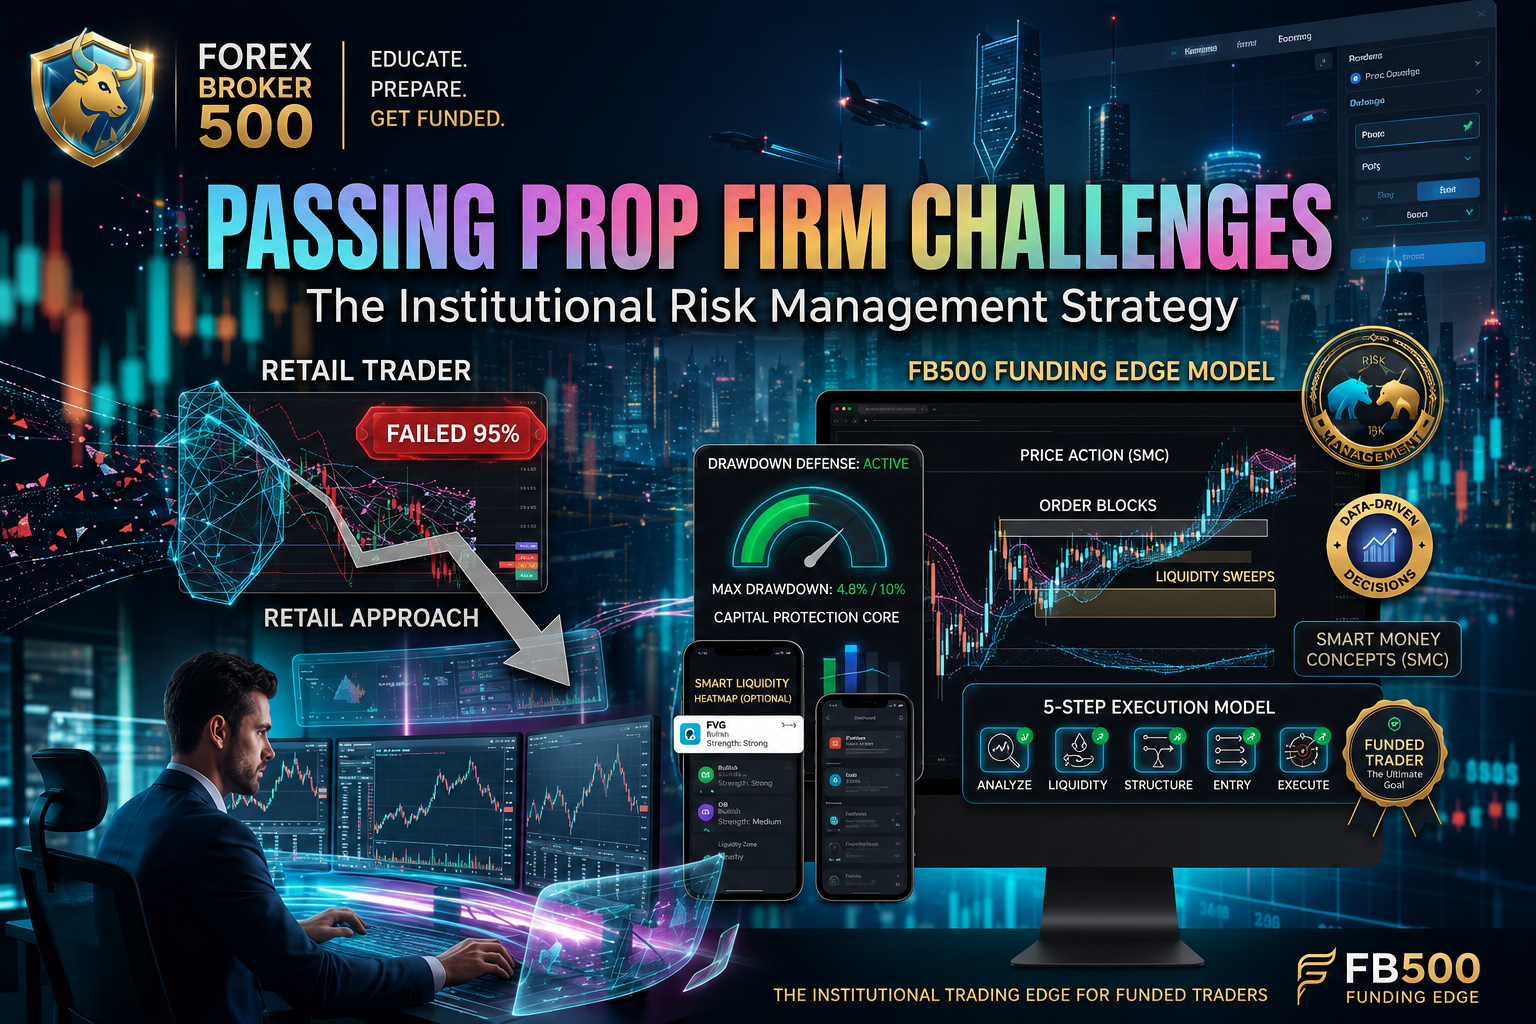
How to Pass Your Prop Firm Challenge: Inside the FB500 Funding Edge Strategy
The brutal reality of the proprietary trading industry is that 95% of traders fail their evaluation challenges. It’s rarely because their technical analysis is inherently[…]

Trader Toolkit: The Free Forex App Every Smart Trader Needs
In today’s fast-moving forex market, having the right tools can be the difference between consistent growth and blowing your account. Most traders focus on strategies…But[…]

How to Register and Build a Forex Affiliate Business from Scratch
Forex affiliate marketing and Introducing Broker (IB) partnerships represent some of the most lucrative monetization models in the digital finance space. Unlike traditional retail trading,[…]

Cash Flow in Forex Trading: How to Build Sustainable Income & Payout Systems
In foreign exchange trading and funded account management, revenue is not the same as consistent cash flow. Many retail traders experience profitable weeks or explosive[…]

How to Trade ICT Killzones: London & New York Session Timing Guide
In Smart Money Concepts (SMC) and institutional price delivery, when you trade is just as critical as what you trade. Institutional algorithms do not inject[…]

Plus500 Review: Is It Safe or Are Trader Funds at Risk?
When choosing an online trading broker, sleek software and high-profile sports sponsorships mean nothing if you cannot access your profits when you need them. Plus500[…]
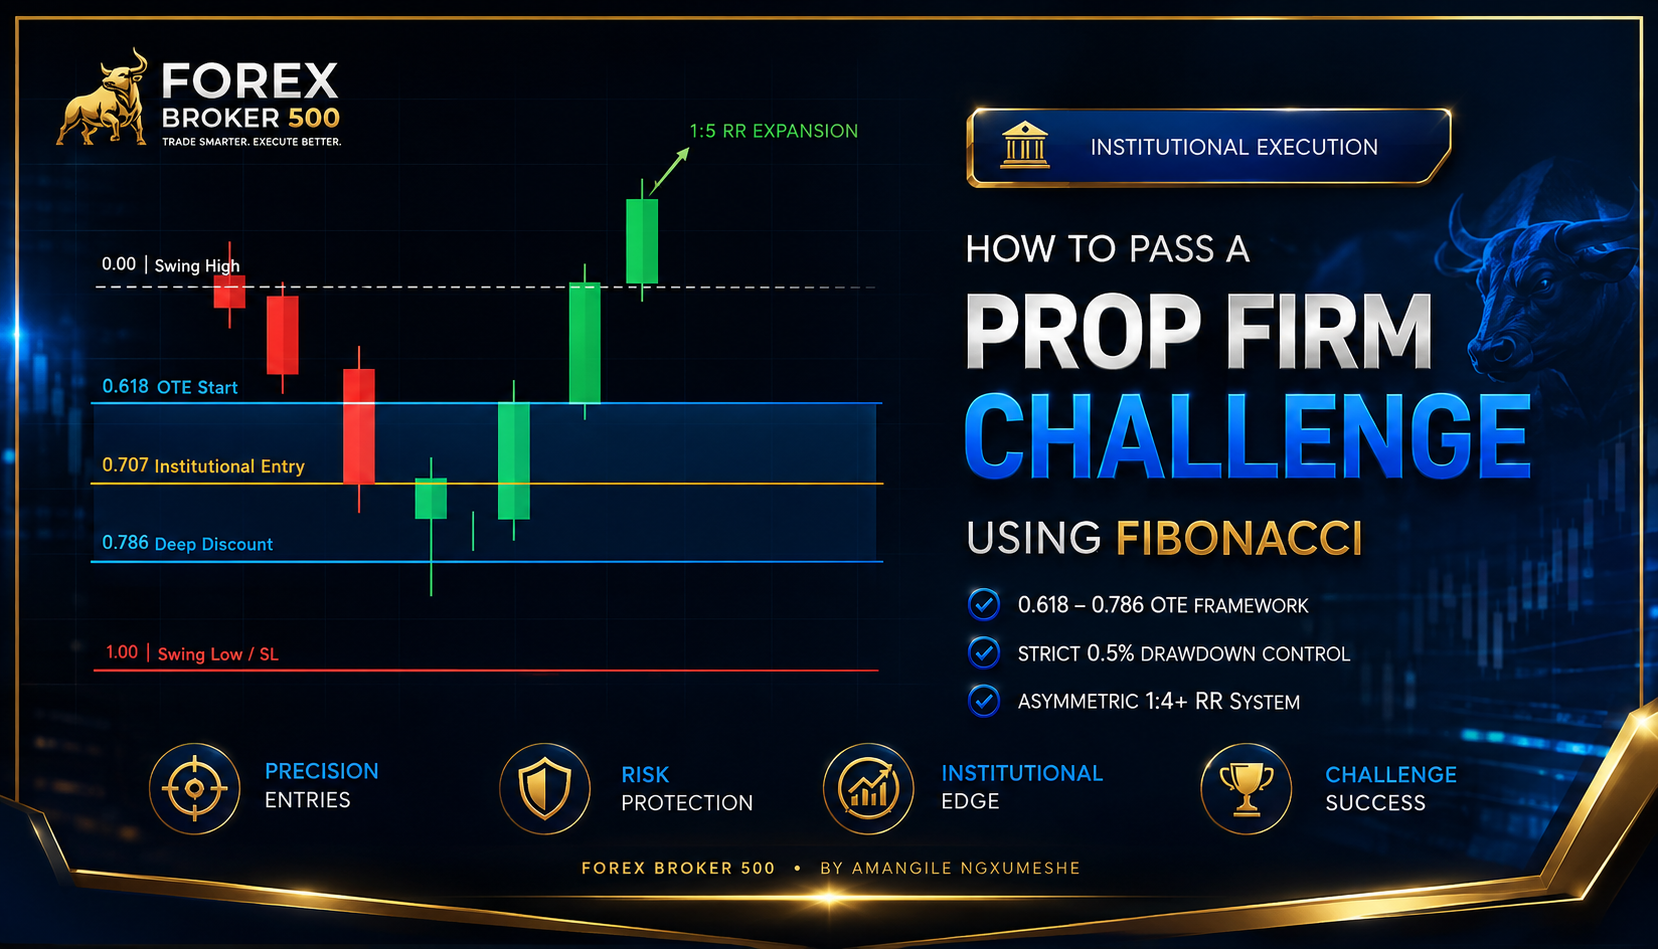
How to Pass a Prop Firm Challenge Using Fibonacci: The Precision Execution Framework
The Core Problem: Why Traditional Fibonacci Setups Fail Prop Rules Most retail traders fail prop firm evaluations using Fibonacci retracements because they treat levels as[…]
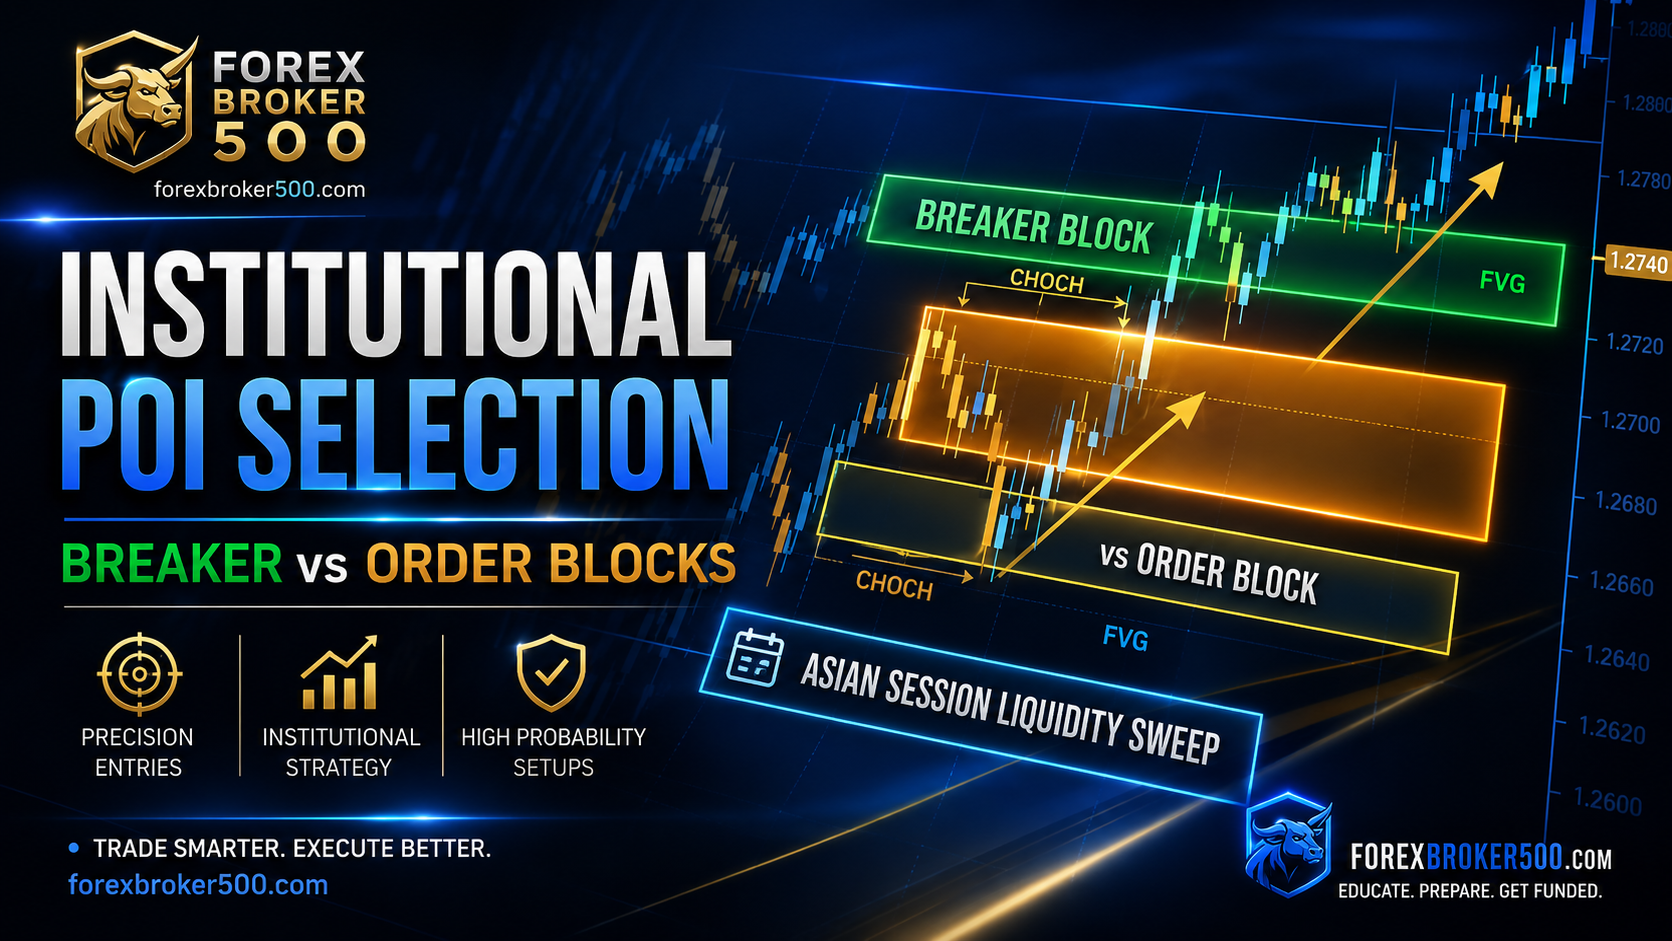
Institutional POI Selection: Refinement Strategies for Funded Account Entries
Executing a textbook Change of Character or Break of Structure means nothing if your Point of Interest (POI) is fundamentally flawed. In our previous guide[…]

Master SMC Entry Models: CHoCH, BOS & Flip Entry Confirmation Guide
One of the biggest hurdles traders face when attempting to pass prop firm challenges is premature execution. Entering immediately when price touches an institutional level—without[…]
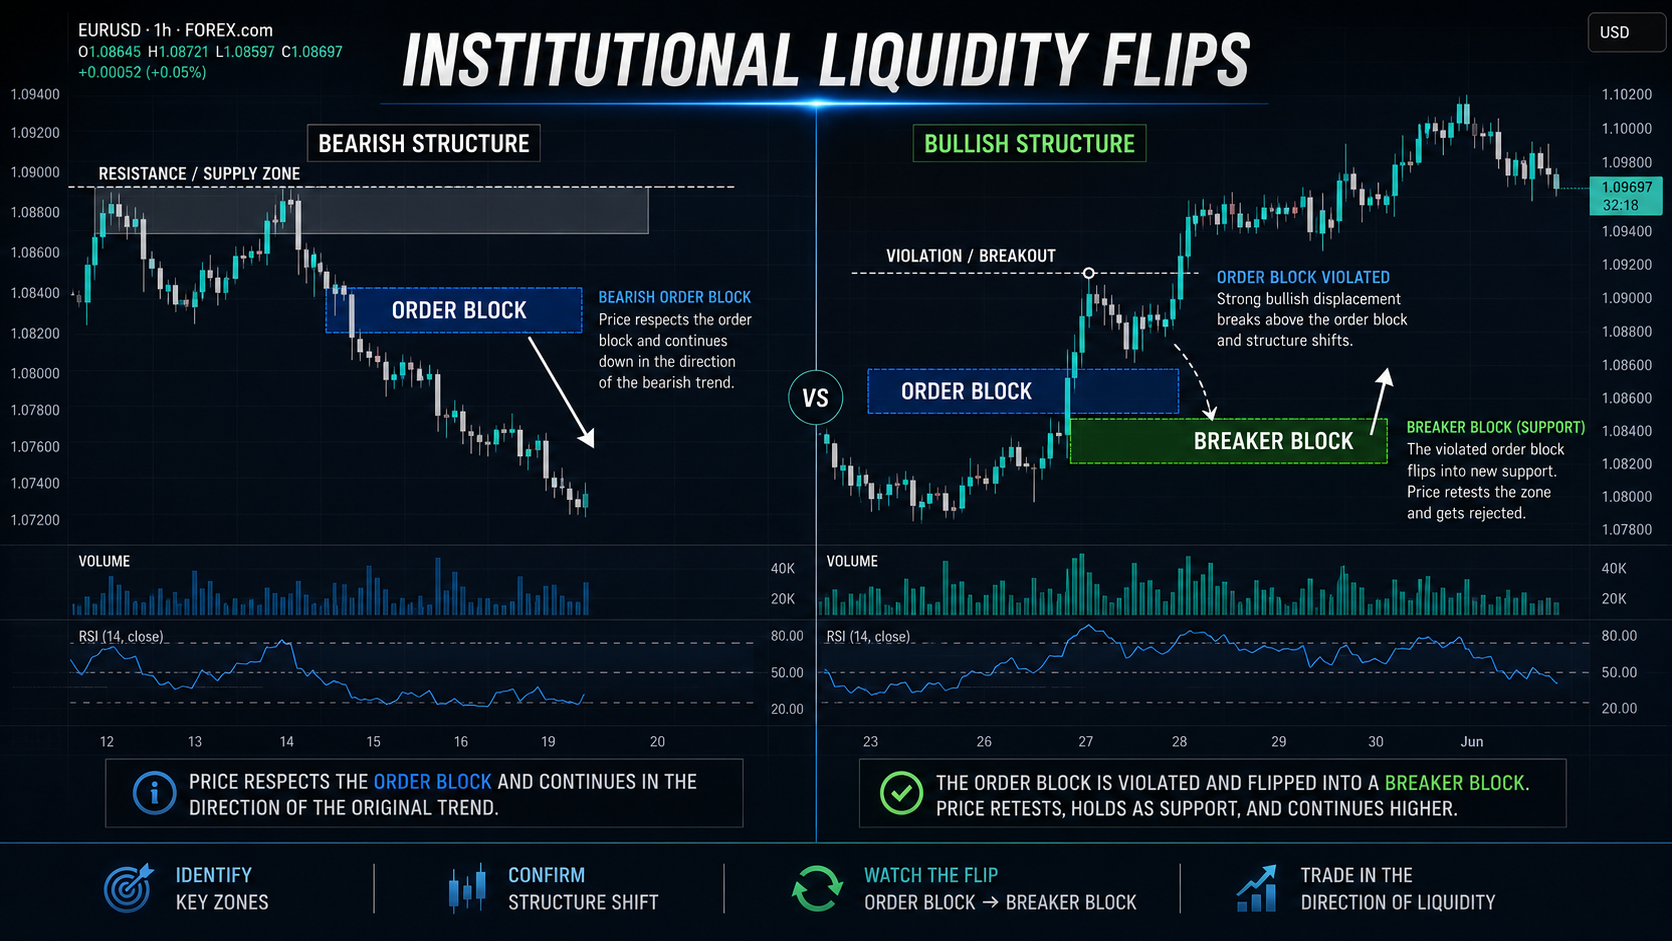
Breaker Block vs Order Block: How to Trade Institutional Liquidity Flips
In Smart Money Concepts (SMC), few distinctions matter more than understanding the structural difference between a standard Order Block (OB) and a Breaker Block. While[…]
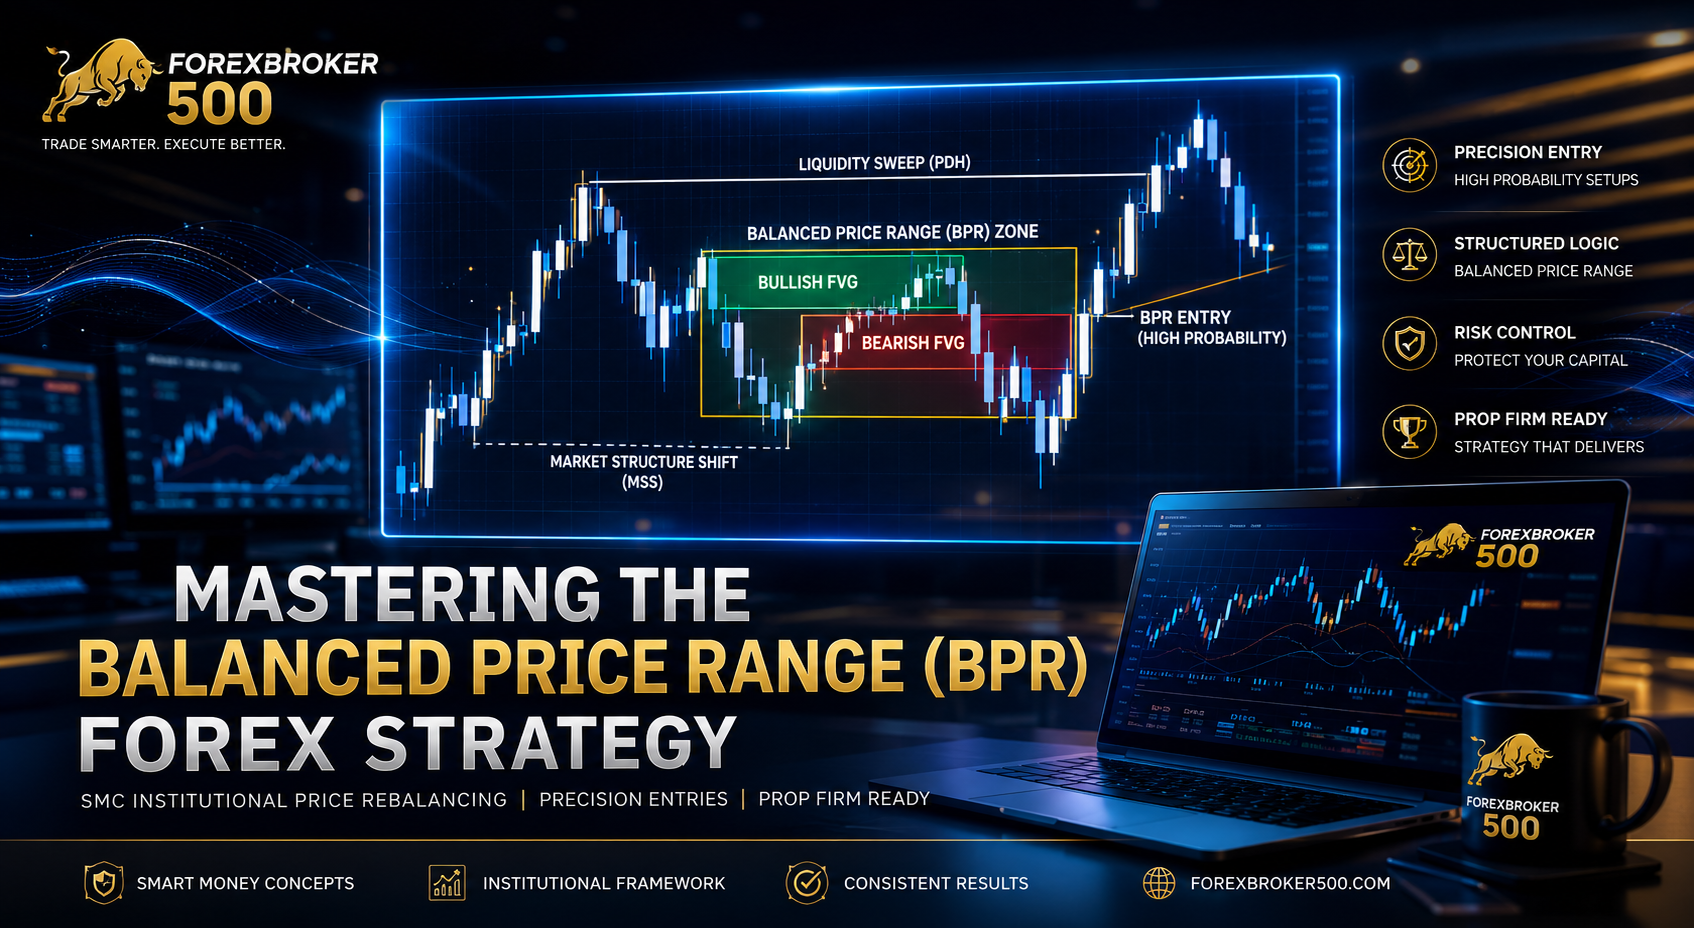
Balanced Price Range (BPR) Forex Strategy: How to Trade Overlapping FVGs
In Smart Money Concepts (SMC), single Fair Value Gaps (FVGs) represent price inefficiency. However, when market algorithms create two rapid displacements in opposing directions across[…]
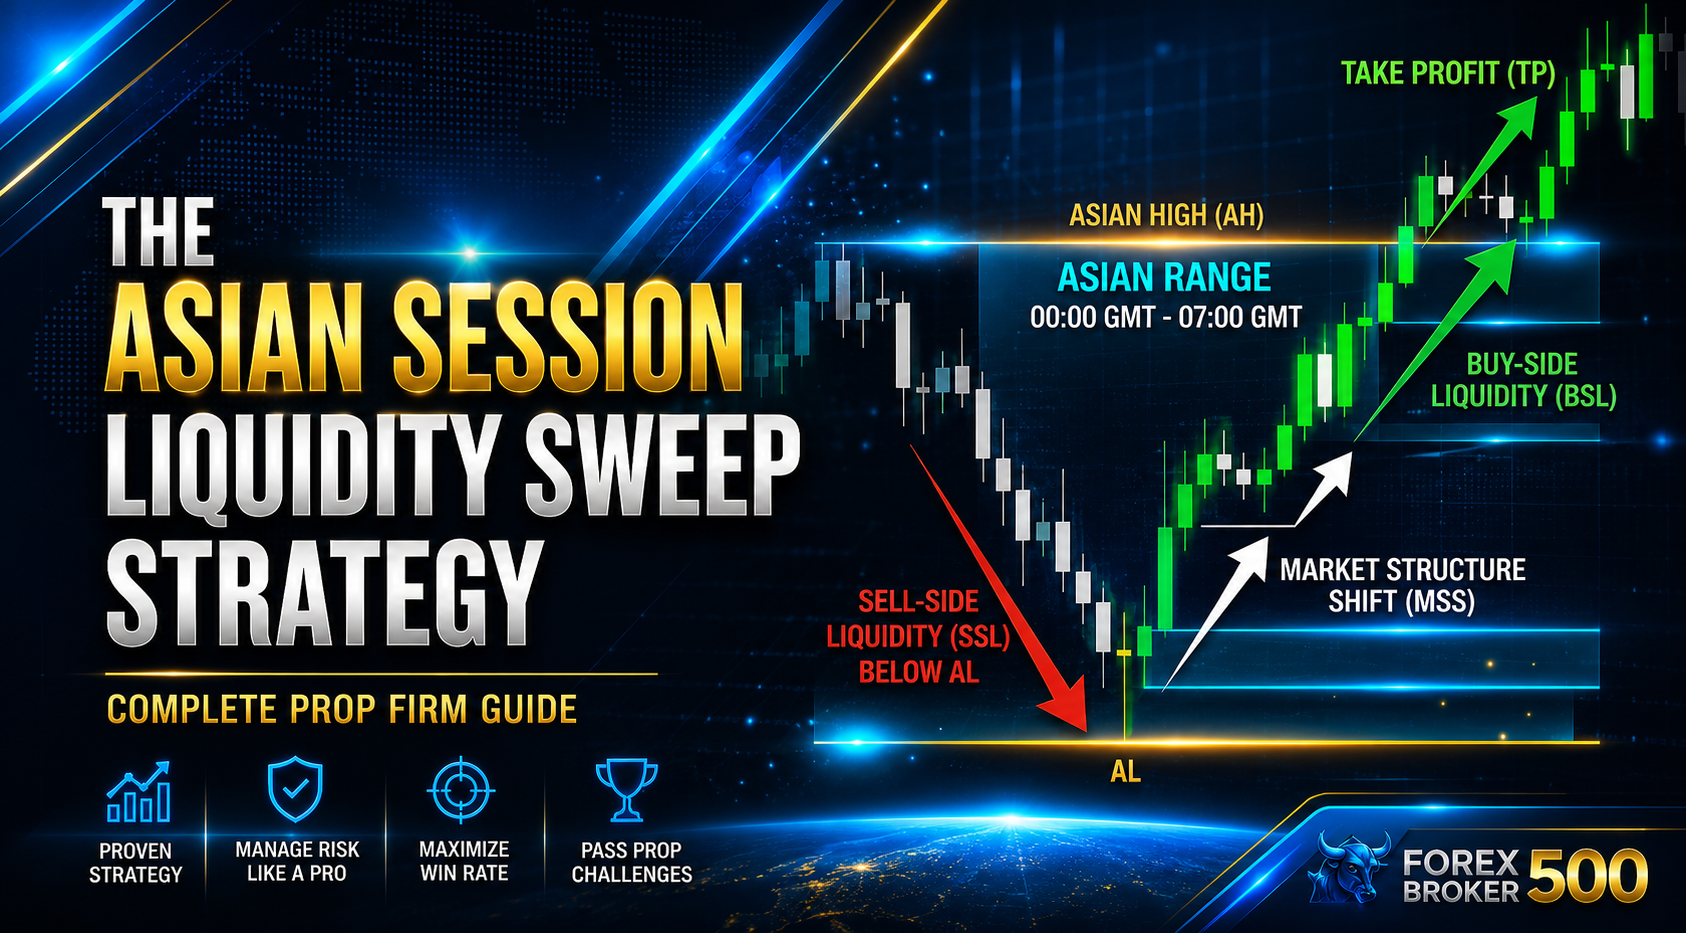
The Asian Session Liquidity Sweep Strategy: Complete Prop Firm Guide
The Asian Session Liquidity Sweep Strategy is one of the most reliable, time-based mechanical trading setups used by institutional algorithmic traders and funded prop firm[…]
© 2026 Forex Broker 500. All Rights Reserved.